
Water. H2O. Agua. No matter what you call. It is essential when you’re out on the trail. Water is so important that you have to plan how you’re going to transport it, how you’re going to get it, when you need to get more of it, and how you can get clean drinking water. So what is the best way to make sure that your water is not only plentiful, but also healthy and safe to drink when you are backpacking, hiking, or camping? For a camping trip or single day of hiking, you can often easily find potable water, but when you are on a multi-day backpacking trip, you need more options. Now you could always go with the tried and true iodine tablets, and that is A-OK. Iodine tablets are a great option especially paired with a neutralizer tablet to remove the bad aftertaste, but you do have to wait 30 minutes for it to be effective. That’s why I think they are probably a good back up option to have in your pack when you are in a pinch. You could also boil water and that would be another way that you could sterilize water. It doesn’t help you filter out any debris but it does help you at least make sure to kill any bacteria that is in the water. The downside to boiling water is that you have to make sure you boil it long enough to actually kill everything, and it also takes time to get to the point that you’re actually drinking fresh, clean water.
When you’re on the go on the trail, it’s essential that you have something that’s fast and easy so that you don’t hold up your adventures any longer than you need to. For that reason alone, many hikers and campers opt for mechanical filtration options. Filters aimed at the backpacking industry have filter elements that are good enough to weed out all the bacteria that could cause you harm. When it comes to mechanical filtration, there are about a million different options out there, so which water filtration option is the best? One of the most affordable options out there, and what I think is probably the best option, is the Sawyer water filter. But hold on! There are multiple options that Sawyer makes, so how do you choose? Do you go with the micro, or do you go with the mini or is there any difference at all? Does it really matter that much or do you want to go for the one that is cheapest? Both of the Sawyer Micro Squeeze and the Sawyer Mini Squeeze are great options, but we’re gonna see if one edges out the other. So on our last backpacking trip, Jason and I set out to test the two. Jason had the mini and I had the micro. Let’s see how they stack up.

Design:
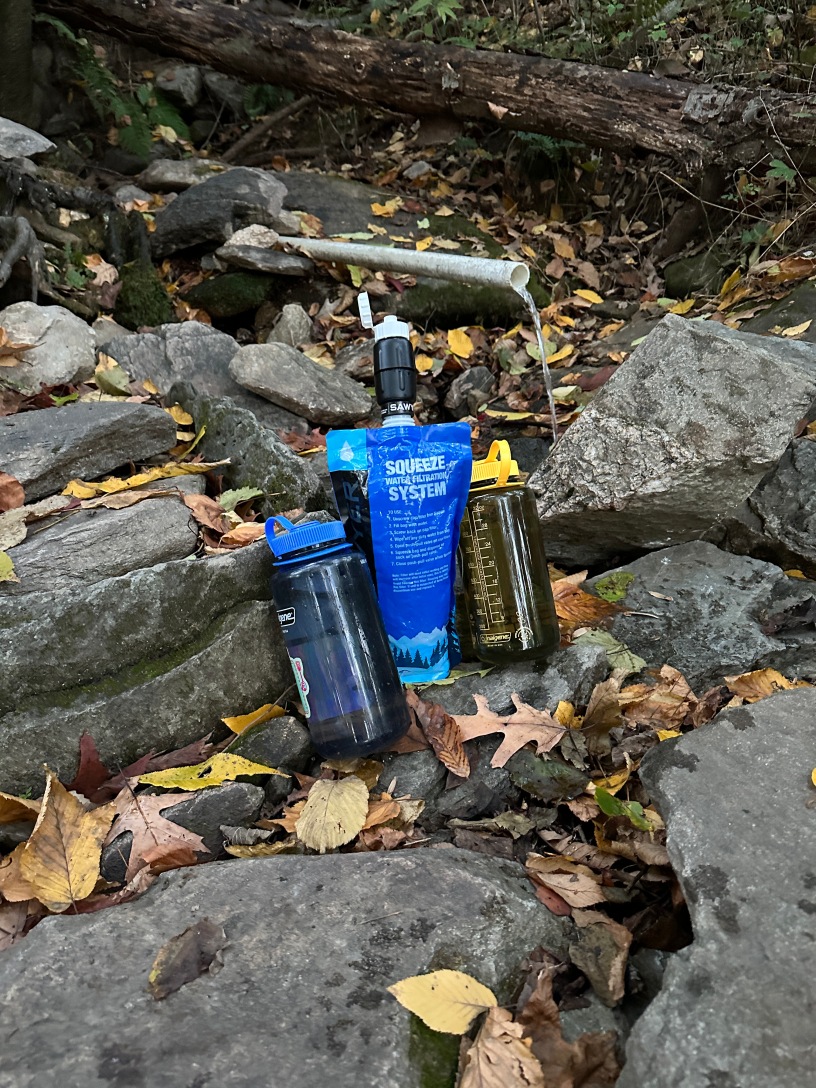
Both filters have the same fundamental design principles. They both consist of a flexible plastic bag for collecting the unfiltered water, a small filter unit that screws onto the plastic bag, and a nozzle for the outlet. The filter unit can be disassembled for cleaning purposes, and the kits also come with a syringe for back flushing the filter to clear out debris.
There are some small differences in the design that are worth noting. The micro squeeze comes with a larger 32 oz bag and a nozzle with a flip top that makes it easier to drink out of. Conversely, the mini comes with a 16 oz bag and a nozzle that is a little more straw-like. The filter body itself is a bit longer than the micro, as the name would suggest. Both come with a straw attachment for drinking directly from the source.

There is not much to argue with about the design itself. It is dead simple and gets the job done.
Durability:
Both the Sawyer Micro Squeeze and Sawyer Mini Squeeze are designed to last a long time! As long as you take proper care of them, backflush the filters at the end of a trip, and keep everything dry in storage, you’ll be using this filter over the course of many trips. The claim of 100,000 gallons has definitely not been tested by me, but I can say that it does a good job and I can see it lasting me for a while.
One item that has some durability concerns is the flexible pouch that you fill and squeeze to filter the water. Because of all the pressure you are putting on this pouch, it’s not entirely surprising that the seals have been known to fail. Jason mentioned to me that some people recommend getting a second bag as a backup. Worst case scenario, you can just use the straw attachment instead if the bag breaks on you in the field, but that’s not quite my idea of a fun time. You either have to keep track of what water bottle is now your “contaminated” water bottle or you have to lay on your belly and drink straight from the stream. If that’s your kind of thing, my hats off to you, but I’ll keep squeezing as long as I can. It’s also important to get the bag really dry after you clean it post-trip. That is easier said than done and requires patience, shaking, and some wild “windmill-style” arm swinging like Pete Townsend.
Which one is better?
Honestly, this is a close one. I think both have their pros and cons and might come down to your preferences. The mini is cheaper and the smaller bag comes in handy when trying to fill from shallow water sources. I found that my large bag never got full enough to justify its size unless I had a steady spring source at camp. So if I really had to award a winner, the mini edges out the micro, but not by much. You really can’t go wrong.

Rating: 4/5

Both of these filters get a 4/5 starts from me. They are well designed and easy to use. The fact that a bag could blow out on me mid trip hadn’t crossed my mind until Jason mentioned it and now I’m paranoid and probably need to buy an extra bag!
What are your thoughts? Do you prefer one over the other? Or do you swear by some other water filtration system altogether? Either way, we love hearing your thoughts and suggestions!

My son and I have each had a regular Sawyer since 2020. Interestingly, we’re still on our first pair of bags each and we have yet to have a failure despite many days out in the woods (it is nice to have two bags each in our packs just in case). I did hear that the earlier squeeze bags were the weakest. Interestingly, despite the longevity of our bags, I thought I was going to have to replace the filters themselves because of clogging (even though I back-flush with water/bleach after every trip). But then I “cooked” them for a couple of hours in 130-140-degree distilled water in a saucepan, did some vigorous back-flushing combined with occasional smacking on a towel on the kitchen counter, and that did the trick! Good as new.
LikeLike
That’s awesome and good to hear! Gotta love gear that keeps on going no matter what you throw at it!
LikeLiked by 1 person
Keeping them clean/clog free can be a pain if the only water source is stagnant water. Those smart water bottles with the sports caps fit over the spout of the mini to use to back flush without needing the syringe tool. I ditched the sawyer pouches and got a 2L CNOC flexible bag. The mini fits on the 28mm model and the top opens like a ziplock which Makes gathering in streams and deep pools faster and also is easier to clean and dry. The one thing you didnt compare is flow rate. The mini is so much slower compared to the regular swayer squeeze. The regular is a bit more bluky but probably worth it from an amount of effort put in to water collected standpoint. I also keep a cutoff bottom of plastic water bottle to use as a scoop for collecting out of those shallower pools.
LikeLike
Dang, Jason and I missed a golden opportunity to have a “squeeze-off” competition 🤣
Some great pro tips here, thanks for the additions, bud!
LikeLike